Tom and I decided to get in a game of
Saga this week to try out my new Scots from
CGR Painters. The models looked great, but I wanted to see how they did in bloody combat! We decided to have a simple bloodbath, and lined up our guys on opposite sides of a lonely village to face off in manly combat!
 |
| The Viking Horde. |
We decided on a 6 point battle. Tom took a regular Warlord, 2 units of Heathguard, 3 units of Warriors and a unit of Levies with bows. He decided to leave his units composed as-is to maximize his Saga Dice.
For the Scots, I took 4 units of Hearthguards and 2 units of Warriors. I went ahead and put together the Hearthguard into two units of 8 each. I gave up some dice, but decided that the big units were more important. I have learned this lesson with my Vikings before.
 |
| Viking Levy Bowmen. |
 |
| The Viking Chief and his retinue. |
 |
| Scot Warriors with spears. It is key to have the spears, as the Scot battle-board has some moves that can only be done with Spearmen. |
 |
| Hearthguard. Since most has spears, we counted this unit as having them. |
 |
| Hearthguard with plain old weapons. |
 |
| Hearthguard with spears. |
 |
| Villagers with no clue about the coming battle! |
 |
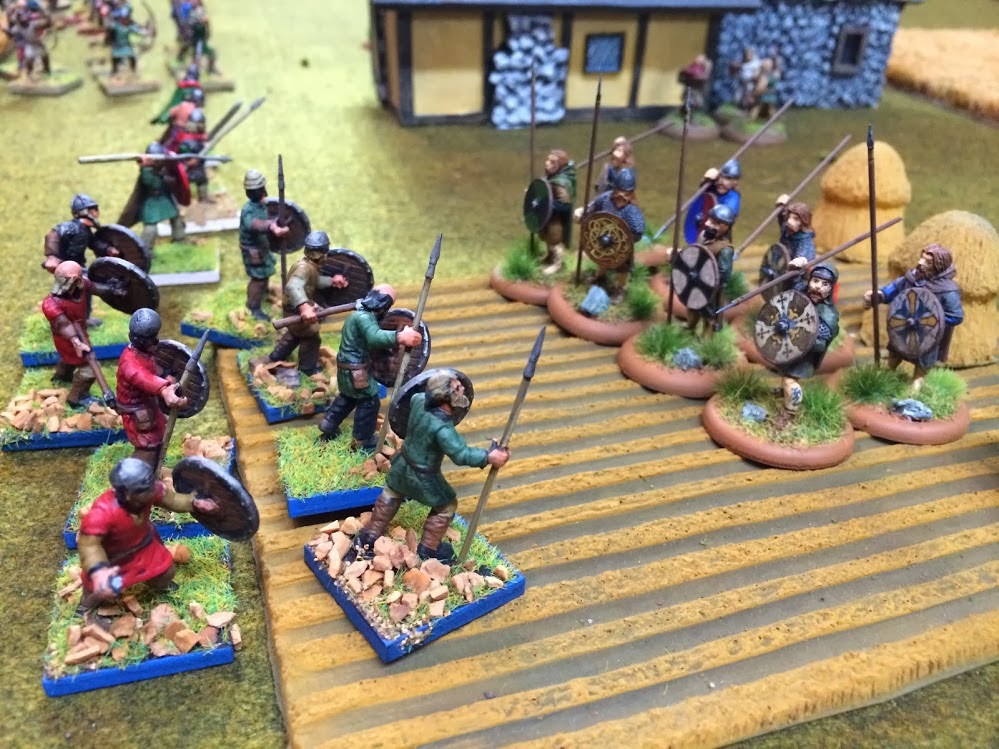
| Vikings assemble. Tom has blue bases on his Warriors, ad white on his Hearthguard - neat idea! |
 |
| The Viking Horde! |
 |
| The board. Line up and get'm! That's the plan! |
 |
| The Scot Horde advances. I planned to run in with the Hearthguard up front and kill off whatever was left with the Warriors behind. |
 |
| You get over here, you dogs! |
 |
| Get out of the way, civilians! |
 |
| ...just about there. This is a pretty scary situation for me. I have a unit of Warriors up against Hearthguard AND a unit of Viking Warriors. Ut oh. |
 |
| I love this little nugget on the battle board. |
REACH is in green, meaning that you have to have spears to use it. What this means to me is that I gues to place a die here and use it to move one (or two!) units forward and get the added bonus of chucking some javelins. Pretty neat! I used this a lot, but to little effect.
 |
| I run up and use REACH. No a lot of damage. |
 |
| Tom is about to hit me in the head. |
 |
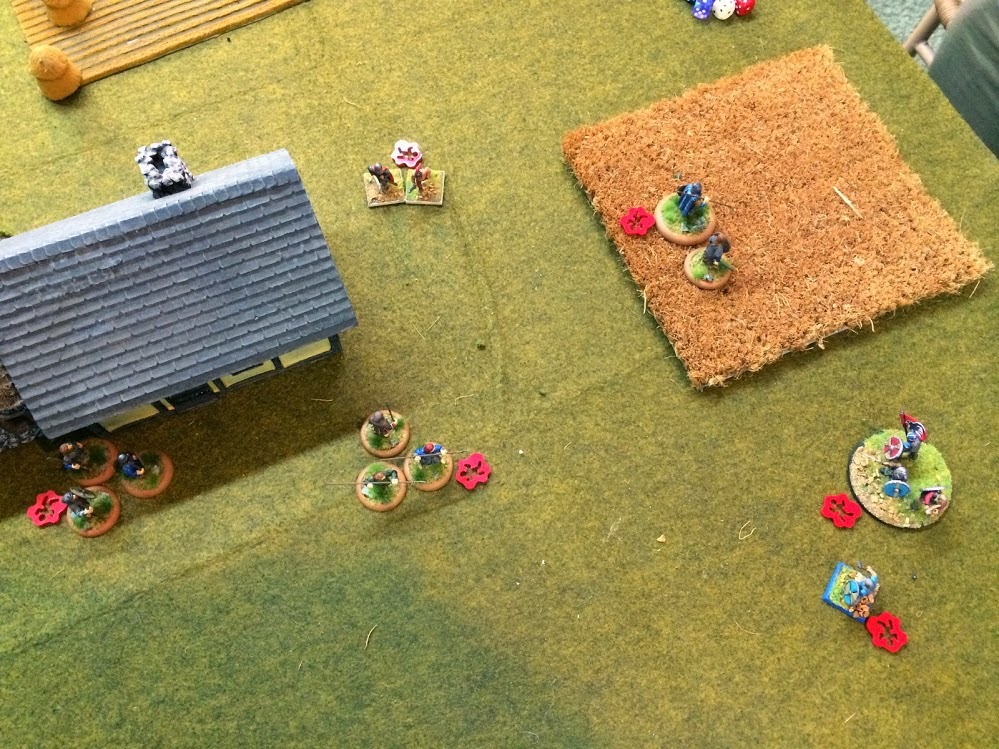
| Get'm! On this side of the building, I have a unit of Hearthguard up against Levies. Heh. |
 |
| I wreck Tom's Warriors pretty good, but the Hearthguard kill me dead. |
 |
| On the right, Tom has knocked my Hearthguard down to 3 guys with his Warriors and Levy. Ouch! Not looking good for the Scots. |
 |
| Warlord with an 8-man strong Hearthguard wipes out the Viking Warriors and heads for the Levies. How do you think this will go? |
 |
| Levies killes dead. |
 |
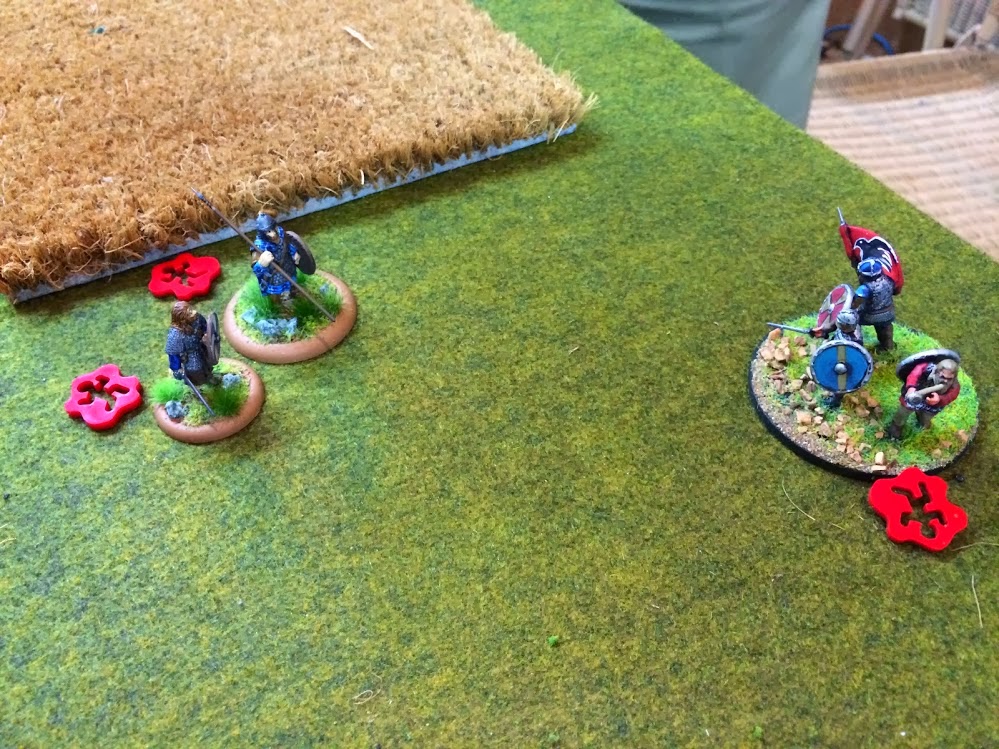
| Tom charges in with his Warlord and a group of Warriors. He rolls pretty poorly and my Hearthguard are still around. Tom was sacrificing his guys for more dice just about every turn! |
 |
| Tom runs away and swings his other Hearthguard around from the other side. |
 |
| ...but the Scot Warlord has some backup! |
 |
| Viking Strategy: RUN! |
 |
| RAWR! Viking Hearhguard prepare to assault the Scot Warriors. |
 |
| Warlord with one remaining Heathguard by his side. |
 |
| This Situation: Tom has 4 models left. |
 |
| Eat it Viking! |
 |
| ...and surrender. |
At this point we call it. Sure, we could roll some dice, but I have Tom's Vikings outnumbered big time. This game was pretty fun and I learned a lot about the Scot battle-board. I am accustomed to playing Vikings, so I really had to think a lot about managing fatigue, as I did not have all those removal abilities I normally have. I think finding a way to use more complimentary combos will be key to my future success with the Scots. I cannot wait to try another game!